You can buy PM (fine particle dust, fijnstof) sensors, but they usually don’t control anything. I wished to have a ventilation system controlled by a PM sensor, so that when my neighbors decided to burn some wood, I would not have to breath in the smoke and PAKS. Luckily you can buy a PM sensor now that proved workable for me, for about 30 Euro, and tried to maka a PM sensor that can be read through Wifi and can in principle switch on and off ventilation or open and close a window.
The problem with PM sensors that use a laser and have a ventilator is usually the interface. The Nova sensor is available with a USB connector, to translate the signal to something your computer can present as a COM serial connection. The next step is to read out the data. This can be done with Python. This then gives your computer access to the data stream. That’s where I’m at now. I found a code example and debugged it.
#!/usr/bin/python
# -*- coding: UTF-8 -*-

import serial, time, struct

ser = serial.Serial()
ser.port = "com9" # Set this to your serial port
ser.baudrate = 9600

ser.open()
ser.flushInput()

byte, lastbyte = "\x00", "\x00"

while True:
    lastbyte = byte
    byte = ser.read(size=1)
    # print("read",byte) #uncomment to see if any data comes in
    # We got a valid packet header
    if lastbyte == b'\xaa' and byte == b'\xc0':
        sentence = ser.read(size=8) # Read 8 more bytes
        readings = struct.unpack('<hhxxcc',sentence) # Decode the packet - big endian, 2 shorts for pm2.5 and pm10, 2 reserved bytes, checksum, message tail

        pm_25 = readings[0]/10.0
        pm_10 = readings[1]/10.0
        # ignoring the checksum and message tail

        print ("PM 2.5:",pm_25,"μg/m^3  PM 10:",pm_10,"μg/m^3")
The above code is real system level. The baud rate is 9200 and you need to find out what COM port is used (This is on a Windows machine sorry). Then the code above should work fine. If you have no programming environment download Spyder for Python.

The above shows the output from the code, and the effect of lighting a match close to the sensor. You can already send a message from Python to any server or even your phone, for instance if values become to high (fire? smoke?). I was thinking of a practical application to protect my lungs. If you can keep the sensor connected to you PC you can make it report the data to a website, and this way you can make it available for yourself, others and even automatic systems. I wanted to use a Wifi module so view the data from my mobile without using an external website.
I did some thing with the ESP8266 in the past, the ESP32 is more powerfull. It can run local mesh networks (without internet), be a hotspot for internet and do what it does here, serve webpages. It can operate servo’s and lots of other cool stuff. Now the task was to make it read the Nova data. This meant it needed to read the UART (serial output) of the board.

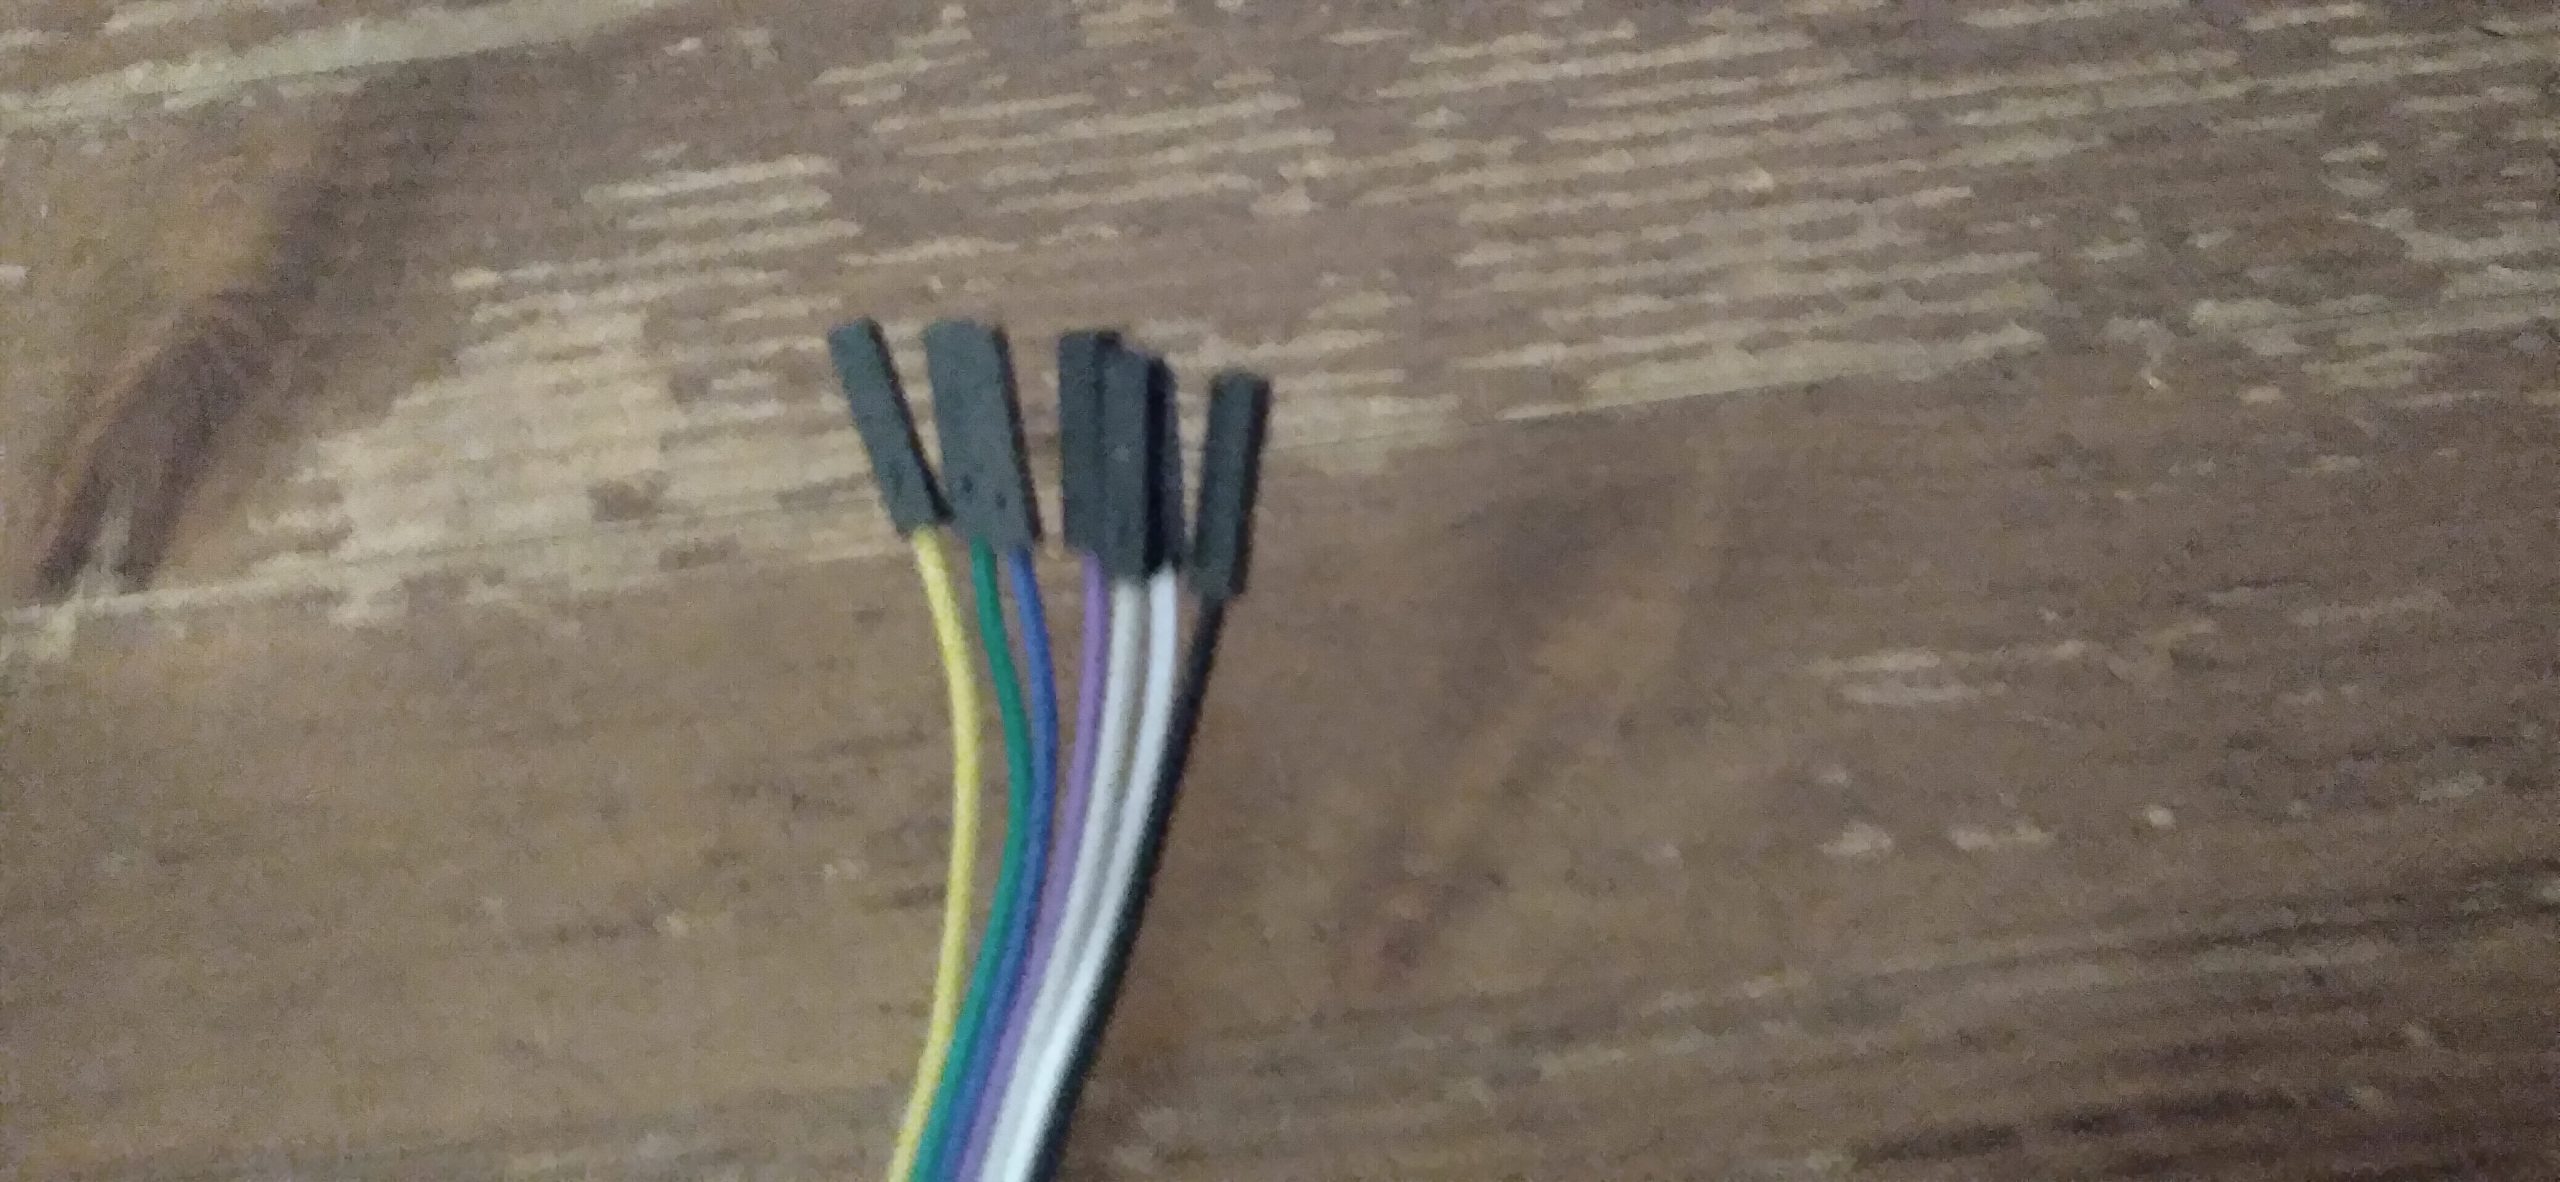
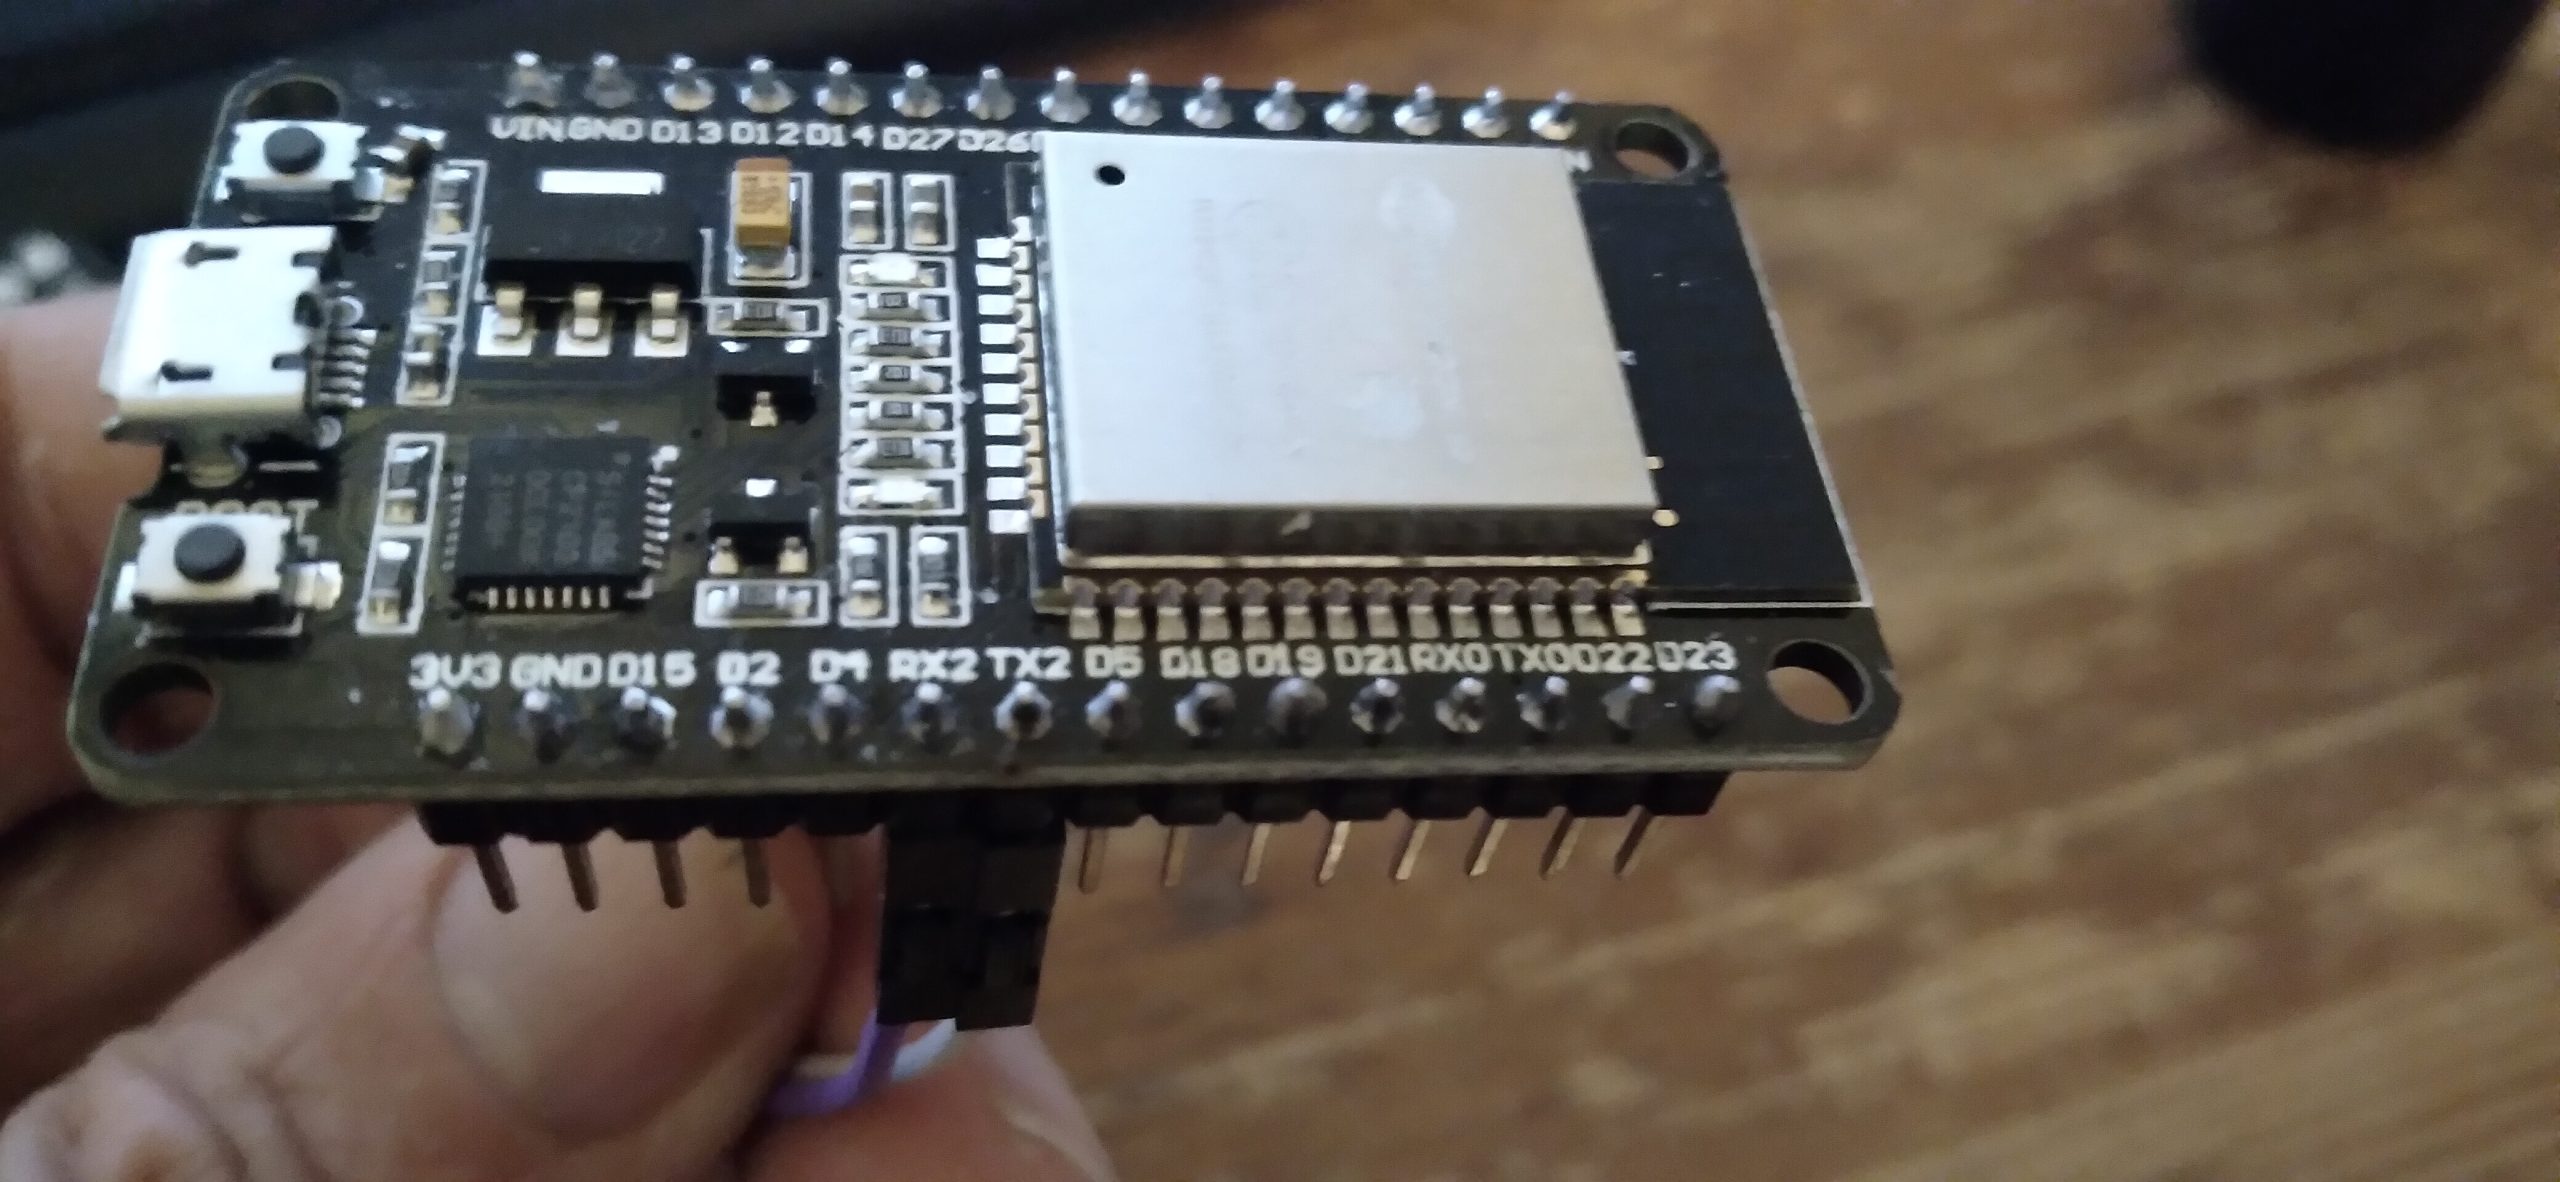
The Nova board has a special connector that I didn’t want to ruin to connect to the ESP32 board. In the documentation and on the board you can find the description of the pin function. We need the TX, RX, GND (which are next to each other) and the 5V pins. I solderd some female connecting wires to them so they could match the pins on the ESP32.
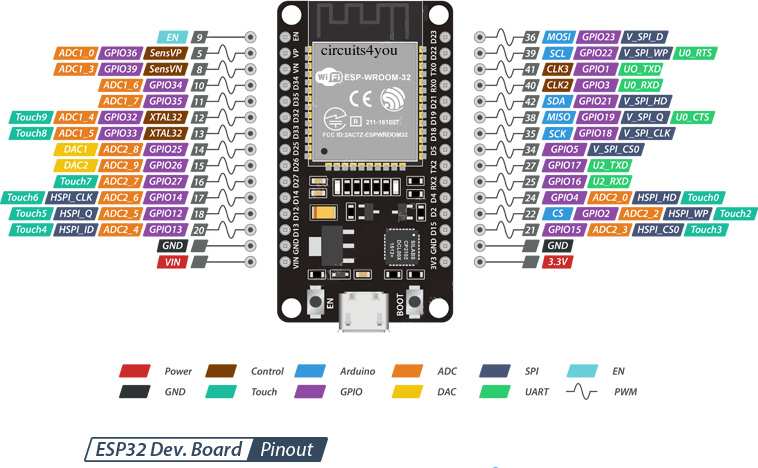
That ESP32 board WROOM 4MB DEVKIT V1, can be programmed with the Arduino environment, you can simply used the USB cable. The Arduino libraries can talk to the different serial ports the ESP32 has (3 in total). The one we use here is UART2. You can see the pins below as RX2 and TX2. The other two pins of importance are the VIN and GND on the top left.
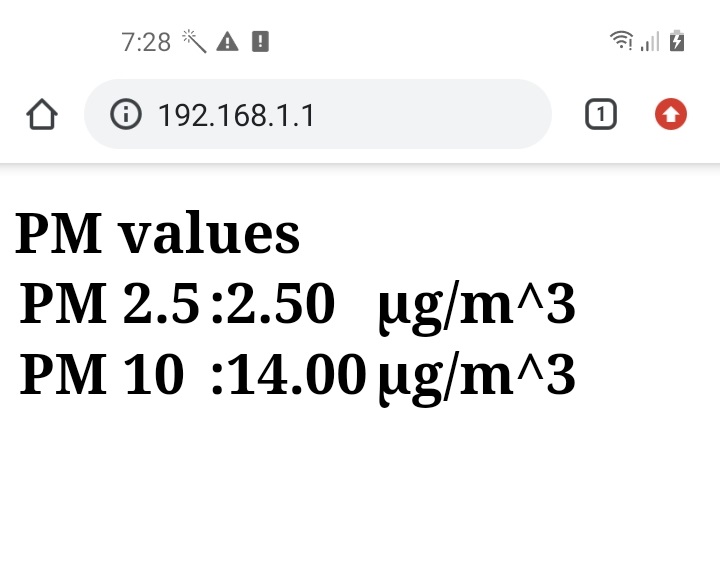
I decided to build a ‘captive server’ on the ESP32, this means the device shows up on your Wifi list, and you can look up a single IP address, where a tiny website is served. This website is to serve the PM values read by the NOVA module. Below is the code. As you can see it only uses generic libraries. I compared the output with the output from the Python code to check if it was working.
#include <WiFi.h>
#include <DNSServer.h>
#define RXD2 16
#define TXD2 17
char buf[200];
float pm25 = 0;
float pm10 = 0;
const byte DNS_PORT = 53;
IPAddress apIP(192, 168, 1, 1);
DNSServer dnsServer;
WiFiServer server(80);
void setup() {
WiFi.disconnect(); //added to start with the wifi off, avoid crashing
WiFi.mode(WIFI_OFF); //added to start with the wifi off, avoid crashing
WiFi.mode(WIFI_AP);
WiFi.softAPConfig(apIP, apIP, IPAddress(255, 255, 255, 0));
WiFi.softAP("PM server http://192.168.1.1");
// if DNSServer is started with "*" for domain name, it will reply with
// provided IP to all DNS request
dnsServer.start(DNS_PORT, "*", apIP);
Serial.begin(115200); // normal serial output
Serial2.begin(9600, SERIAL_8N1, RXD2, TXD2); // to read the pm sensor
server.begin();
}
void updatepmvalues() {
if (Serial2.available()) {
int len = Serial2.readBytes(buf,20);
pm25 = (float) word(buf[3],buf[2])/10;
pm10 = (float) word(buf[5],buf[4])/10;
}
}
void loop() {
dnsServer.processNextRequest();
WiFiClient client = server.available(); // listen for incoming clients
if (client) {
updatepmvalues();
String currentLine = "";
while (client.connected()) {
if (client.available()) {
char c = client.read();
if (c == '\n') {
if (currentLine.length() == 0) {
client.println("<!DOCTYPE html>");
client.println("<head><meta name=\"viewport\" content=\"width=device-width, initial-scale=1\">");
client.println("<meta http-equiv=\"refresh\" content=\"3\">");
client.println("<body><h1>PM values<table><tr><td>PM 2.5 </td><td>:" + String(pm25) + "</td><td> µg/m^3</td></tr><br>");
client.println("<tr><td>PM 10</td><td>:"+String(pm10)+ "</td><td> µg/m^3</td></tr></table></h1>");
client.println("</body></html>");
Serial.print("\n"+String(pm25)+" "+String(pm10));
break;
} else {
currentLine = "";
}
} else if (c != '\r') {
currentLine += c;
}
}
}
client.stop();
}
}It took some time to find out how to read the PM values and convert them but in the end it worked fine. I may have left some stuff in the code, and there is certainly room for improvement in terms of interface. The screen refreshes every 3 seconds to show new values.
The ESP32 can also connect to your home Wifi and report by looking up a webpage designed to recieve the data. You could then look up the page anywhere.
Another thing that’s possible that I will actually try is to hook up a switch/relais to the ESP32 and drive a ventilator or window (although I don’t have the hardware for that yet). The above parts cost about 10 Euro together. For now I will look for a place to hang the sensor and ESP32 so I can connect and read the PM values. If you want to order a working combination of the above youc an always ask (but quantities have to be worth it) email to info@greencheck.nl
Update
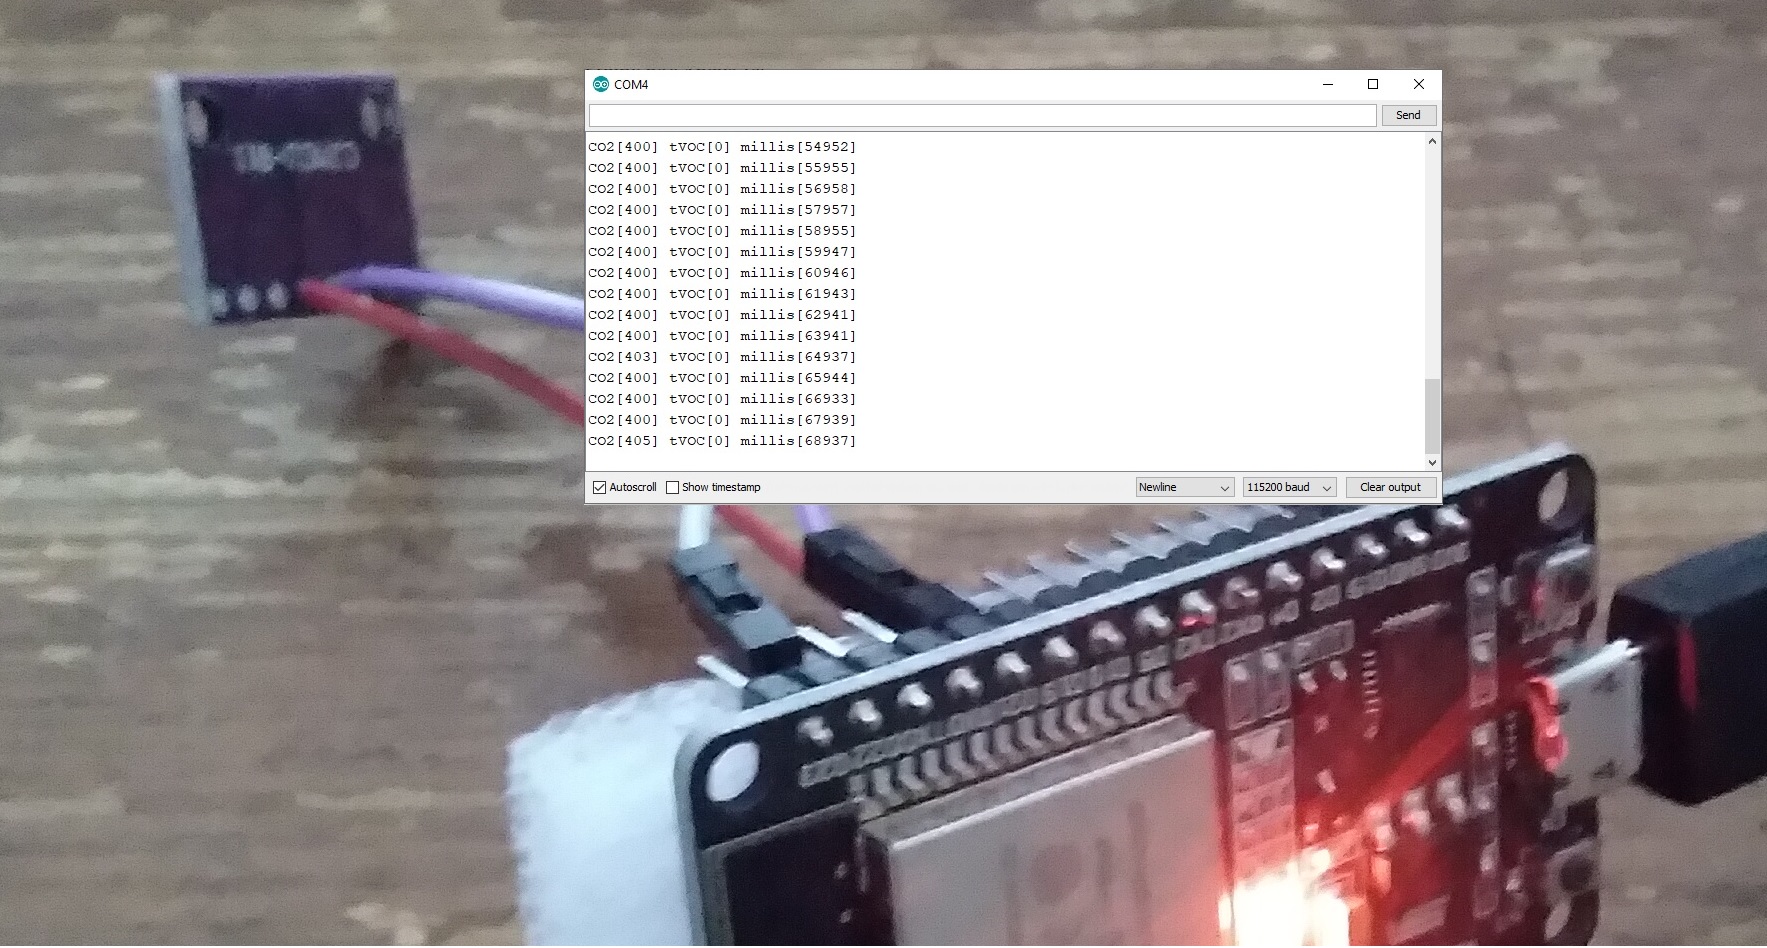
I found a cheap eCO2 sensor, which does not measure CO2 directly but calculates it. That’s fine for most applications imho. I managed to get it working (connect the Wake pin to GND and check the address of the specific I2C version) with the ESP32, as you can see below. So now its a matter of combining the parts into a switching PPM and CO2 sensor. Uploading data to a database is now easy so one step is to make it easy to set the Wifi credentials. These can be stored in EPROM (permanent memory) once when the sensor is configured.
The possibilities of the ESP32 are such that you can make a mesh network, where the nodes report the measurements, and the switch is central. This uses the ESP-NOW mechanism, with a range of about 500 meter. Power supply to the parts is somewhat of a challenge. You’d like to use solar if possible. Metarial cost of a CO2/PPM switch can be as low as 45,- Euro for non mass production.